
Published · August 19, 2026
Herringbone Pattern Layout: Installation Guide for Click-Lock SPC
Most SPC herringbone on the market is glued down — we covered why in our SPC Herringbone Buyer's Guide. But click-lock herringbone SPC is a real, growing category, built on locking profiles specifically engineered for the pattern rather than adapted from straight-plank click systems. If you've bought a click-lock herringbone product — or you're deciding between click and glue — this guide walks through the two locking systems on the market and the full layout and installation process.
Key Takeaways
- Click-lock herringbone SPC uses either traditional two-panel (A/B) profiles or newer one-panel systems like Unilin's Unizip, which locks on all four sides without needing mirrored panel types (Unilin Technologies).
- Subfloor flatness matters more on herringbone than on straight planks — industry guidance calls for flatness within 3/16" over any 10-foot radius before installation begins (RFCI Recommended Installation Practice I).
- Herringbone is laid from a fixed center line outward in both directions, not from a wall — getting that starting line square is the single most important step in the whole install.
- Click systems install faster and don't require full-spread adhesive, but for very large runs or the tightest possible long-term pattern lock, glue-down remains the industry standard — see our buyer's guide for that comparison.
Two Ways a Click-Lock Herringbone Floor Actually Locks
Click herringbone hasn't always worked the way a standard click plank does, and it's worth understanding the mechanism before you start laying material.
Traditional two-panel (A/B) systems. Early click herringbone profiles required two mirror-image panel types — an "A" panel and a "B" panel — with the tongue and groove positioned in opposite orientations on each. Installers had to keep the two panel types separated and alternate them correctly through the layout, which added a real risk of mixing them up mid-job.
One-panel systems (e.g., Unizip). Unilin's Unizip profile removed the need for A/B panels entirely. It positions the tongue and groove around a single panel type so that the short side of one plank locks into the long side of the next, providing horizontal and vertical locking on all four sides from one panel design (Unilin Technologies). Trade press covered it as a direct response to rising demand for herringbone installs that didn't require sorting two panel types on site (Floor Covering News).
Check your product's documentation before you start — installing an A/B system as if it were a one-panel system (or vice versa) is the fastest way to end up with a crooked first row.
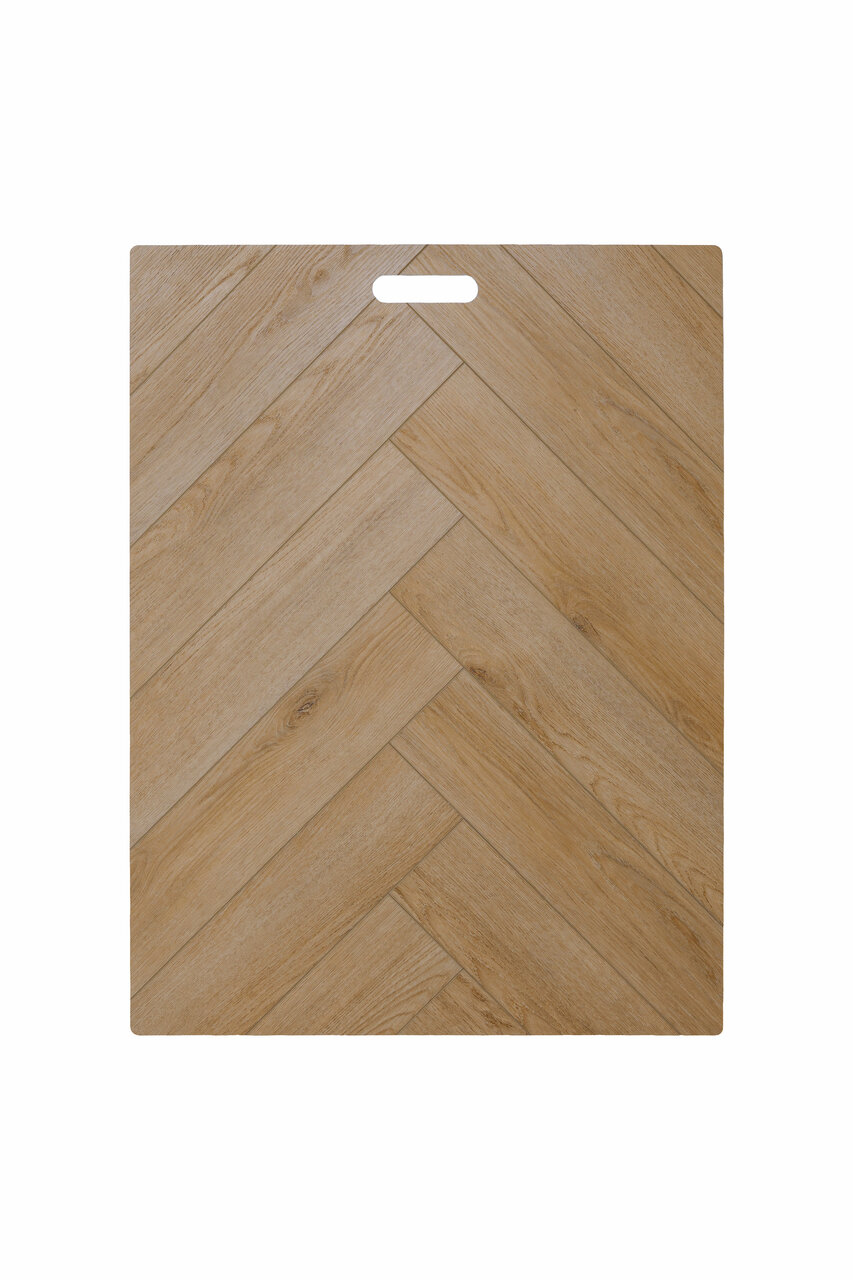
Before You Start: Subfloor and Acclimation
Herringbone punishes an uneven subfloor more than straight-plank flooring does. Every plank touches four or more neighbors instead of two, so a dip or hump under the floor shows up as misalignment at multiple points in the pattern, not just a single soft spot.
- Flatness. Industry guidance for resilient flooring calls for the subfloor to be flat within 3/16" (about 5mm) over any 10-foot radius, with no gaps exceeding 3/16" (RFCI Recommended Installation Practice I). Check with a straightedge across multiple points in the room, not just the center.
- Clean and dry. Sweep or vacuum thoroughly — grit trapped under a click floor telegraphs through as a bump, and it's more noticeable on the multi-angle surface of herringbone than on long straight planks.
- Acclimation. Let the boxes sit in the installation room, unopened, for the period your product's instructions specify — typically 48 hours — so the material reaches room temperature and humidity before you cut anything.
- Underlayment. If your product doesn't have an attached underlayment pad, roll out the recommended underlayment before dry-laying your first row, taping seams so it doesn't shift during layout.
Tools and Materials Checklist
- Chalk line or laser line for marking the starting layout lines
- Tape measure and combination square
- Rubber mallet and tapping block
- Pull bar for tight spaces against walls
- Fine-tooth saw or SPC-rated flooring cutter for angled end cuts
- Spacers for perimeter expansion gaps
- Underlayment (if not pre-attached)
- Straightedge for subfloor flatness checks
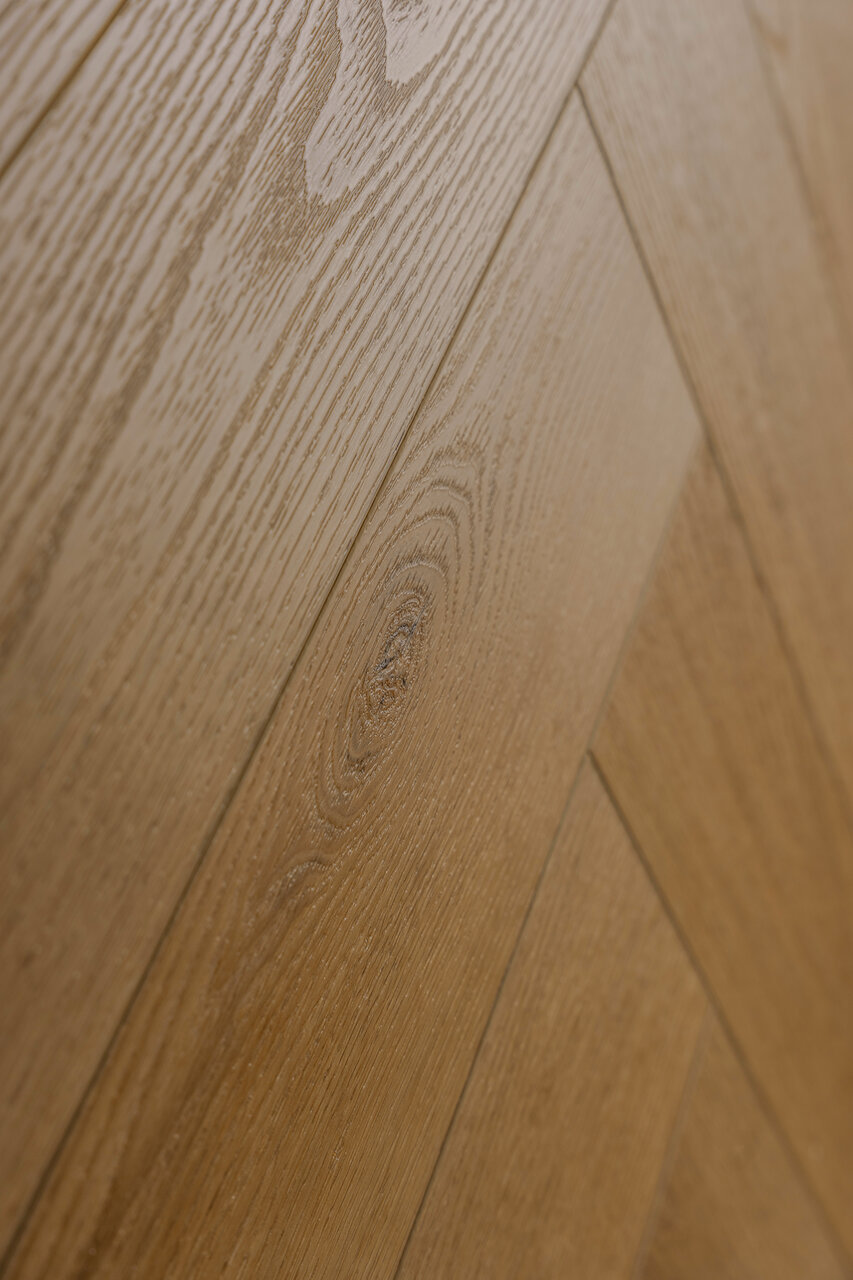
Planning the Layout: Finding Your Starting Line
This is the step that separates a tight, professional-looking herringbone floor from one that visibly drifts by the far wall. Unlike straight-plank flooring, which typically starts from one wall and works across the room, herringbone is built outward from a fixed center line in both directions.
- Find the room's working center line, not necessarily the geometric center of an irregularly shaped room, but a line that keeps the pattern balanced and minimizes small cut pieces at the most visible walls.
- Snap a chalk line down that center line, then a second line perpendicular to it (or at 45 degrees, depending on the orientation you want — check your product's layout diagram, since herringbone can run parallel to a wall or on the diagonal).
- Dry-lay the first several rows along both lines without locking them — this is the point to catch a layout mistake, before adhesive or locking makes it expensive to fix.
- Confirm square at multiple points along the dry-laid rows with your combination square. A starting line that's even slightly off compounds visibly by the time you're a few meters out.
Only once the dry layout looks right should you start locking planks permanently.
Step-by-Step Installation
- Lock the first course along your marked center lines, working outward in both directions from the starting point rather than working across the room in one direction.
- Angle and tap each new plank into place per your system's locking method — one-panel systems like Unizip lock the short side of each new plank into the long side of its neighbor; A/B systems require alternating panel types as you go.
- Work outward symmetrically from the center rather than finishing one side of the room before starting the other — this keeps any small accumulated drift balanced rather than concentrated at one wall.
- Leave expansion gaps at every wall and fixed vertical surface, sized per your manufacturer's instructions — SPC still expands and contracts slightly with temperature even though it's dimensionally more stable than wood.
- Cut angled end pieces for the perimeter last, once the field of the room is locked, so you're cutting against the actual wall line rather than a theoretical one.
- Install transition strips and baseboards last, once the floor has had time to settle, covering the expansion gap around the room's perimeter.
Common Mistakes That Cause Gaps or Drift
- Skipping the dry layout. This is the single most common cause of a herringbone floor that looks noticeably crooked by the far wall — the mistake compounds with every row and is expensive to fix once planks are locked.
- Starting from a wall instead of a center line. Unlike plank flooring, herringbone needs a true, checked starting line in the middle of the working area, not an assumption that the first wall is square.
- Mixing up A/B panels on a two-panel system, or trying to force a one-panel system's planks in the wrong orientation.
- Skipping expansion gaps because the perimeter will be covered by baseboard anyway — gaps that are too tight can cause the whole field to bow under seasonal expansion.
- Inconsistent tapping force, which can leave inconsistent gaps between planks that become visually obvious on herringbone's many short seams.
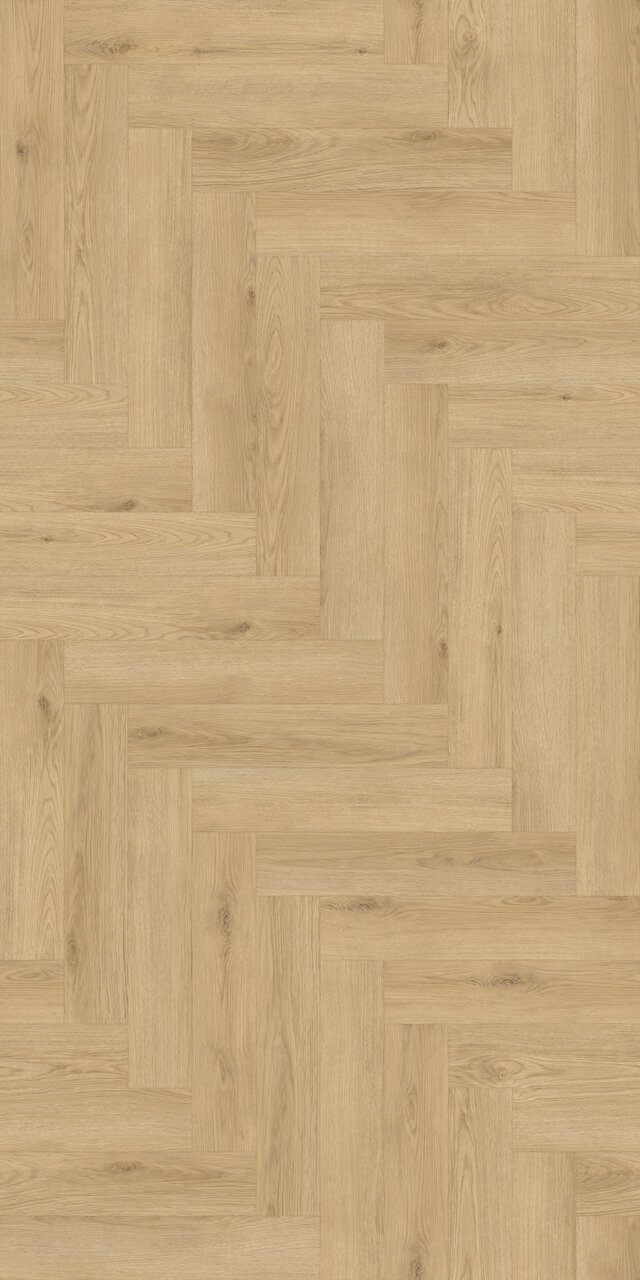
Click-Lock vs. Glue-Down Herringbone: Which Should You Choose?
Both systems produce the same visual result once installed — the difference is in installation speed and long-term pattern security.
Click-lock herringbone installs faster, doesn't require adhesive drying time, and can be walked on immediately after installation. It's the better fit for DIY projects, faster turnarounds, and floors that might need to be lifted and reused later.
Glue-down herringbone — like our own Flex Herringbone collection — locks every single plank to the subfloor individually rather than relying on interlocking neighbors, which is why it remains the industry standard for the tightest, most permanent pattern control, especially on larger floor areas where even small per-plank tolerances can accumulate. Our SPC Herringbone Buyer's Guide covers that trade-off, along with how to read a spec sheet, in more detail.
Frequently Asked Questions
Do I need special tools to install click-lock herringbone SPC?
The core tools are the same as any click-lock floor — mallet, tapping block, pull bar, spacers — plus a chalk or laser line for the center-line layout that straight-plank installs don't need.
How long does a click-lock herringbone installation take compared to glue-down?
Click-lock skips adhesive open time and cure time entirely, so a room can typically be finished and walked on in a single day. Glue-down requires the adhesive to set before the floor takes normal foot traffic, which extends the timeline.
Can I install click-lock herringbone over underfloor heating?
Check your specific product's underfloor-heating compatibility rating before installing over a heated subfloor — this varies by manufacturer and isn't universal across all click-lock SPC products.
What happens if I get the starting line wrong?
Because herringbone is built outward from the center in both directions, an off-square starting line compounds row by row and becomes visibly crooked by the time you reach the far walls. Always dry-lay and check square before locking anything permanently.
Final Thoughts
Click-lock herringbone SPC — whether an older A/B panel system or a newer one-panel design like Unizip — installs faster than glue-down and skips adhesive cure time entirely, but it lives or dies on subfloor flatness and a properly squared starting line. Dry-lay before you lock anything, work outward from the center in both directions, and check square as you go.
If you're weighing click against glue-down for a project, browse the Flex Herringbone collection to see the glue-down alternative in detail, or get in touch if you're sourcing SPC herringbone for a distribution or contracting project. If you're deciding whether to stock herringbone at all versus straight-plank SPC, see herringbone vs. straight-plank flooring: which should you stock?